
Installing BusyBox on Non-Rooted
Android Devices seemed impossible but after few searches on Google play store I
found an application which permits you to install Busybox on Non-Rooted Android
Devices! As my many friends found it complex to use those apps I considered of
sharing this trick with all my readers. So Let’s get start with this!
If you have a rooted Android device, then your device's
generation is ahead of non-rooted Android device. But as in reality, bulk amount
of Android users are having non-rooted phones. And definitely this puts a limit
on the opportunity to use BusyBox on your device. To crack this problem,
developers came up with app called as " BusyBox on Non-Rooted
Android".
For those who doesn’t know about busybox :-
Busybox permits you
to use added or additional Linux commands on your phone . BusyBox gives many
stripped-down Unix tools in a executive file(single File). It runs in a multiple
number of POSIX environments such as Linux (including Android), FreeBSD and
others, such as kernels, even though many of the tools it provides are intended
to work with interfaces provided by the Linux kernel..!
Now Coming back to main discussion “How To Install BusyBox
on Non-Rooted Android Devices “
I made this tutorial into 2 parts Test them:-
1. Before Starting, You will Need:-
An Android device running on version 1.6 or superior.
BusyBox Non-Root app
on your device (Play Store link).
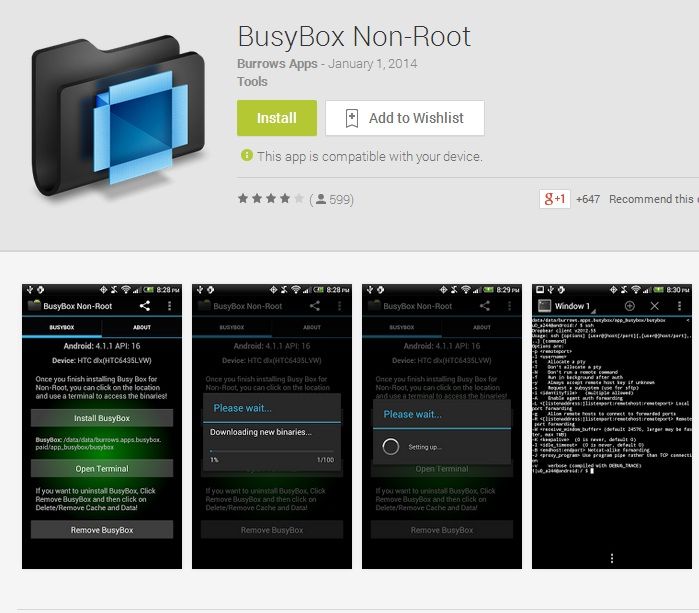
2. After Installing BusyBox Non-Root app on your non-rooted
device:-
Start the app.
Click on “Install BusyBox” to download and install all
BusyBox binary Files.
Once it is installed, click on the BusyBox location and it
will duplicate the path to your clipboard to make it simple for you to get to
them.
Then Open your
Terminal and change directory to the path you have copied.


0 comments:
Post a Comment